
DIY Halloween Pumpkin Topiary
I don’t know about you, but I LOVE Halloween! It is one of my favorite holidays. I love everything spooky and creepy, and it’s another excuse to decorate my house and do crafts!

I’ve wanted to make some cool pumpkin topiaries for my fireplace for a few years now. I’ve always loved the ones I see in catalogs, but I could never stomach the price! Here are some products that I’ve wanted over the years, but couldn’t afford to pay $300-700 for two of them.
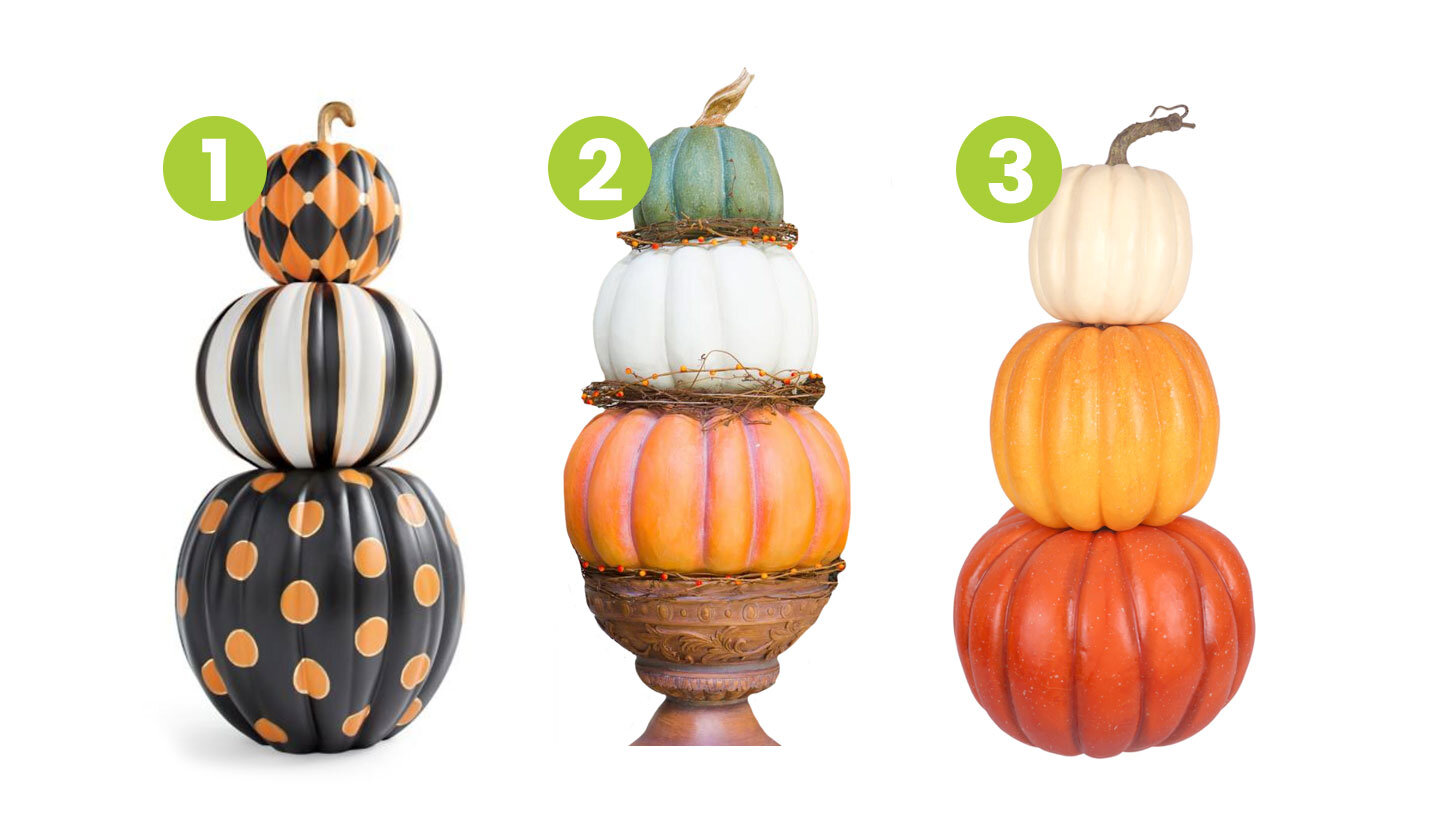
On top of the actual stacked pumpkins, most of the options I saw also needed you to pay another couple hundred dollars for an urn to hold them. I think my husband would kill me if I spent over $500 on two halloween decorations. SO, I decided to make my version for much cheaper!
Here are the supplies I used:

1) 9” Black Craft Pumpkin 2) 6.5” Orange Craft Pumpkin 3) Small Green Craft Pumpkin 4) Black Spray Paint 5) Purple Glitter Spray Paint 6) Lime Green Spray Paint
I also used Frog Tape, and some basic craft paint I already had on hand!
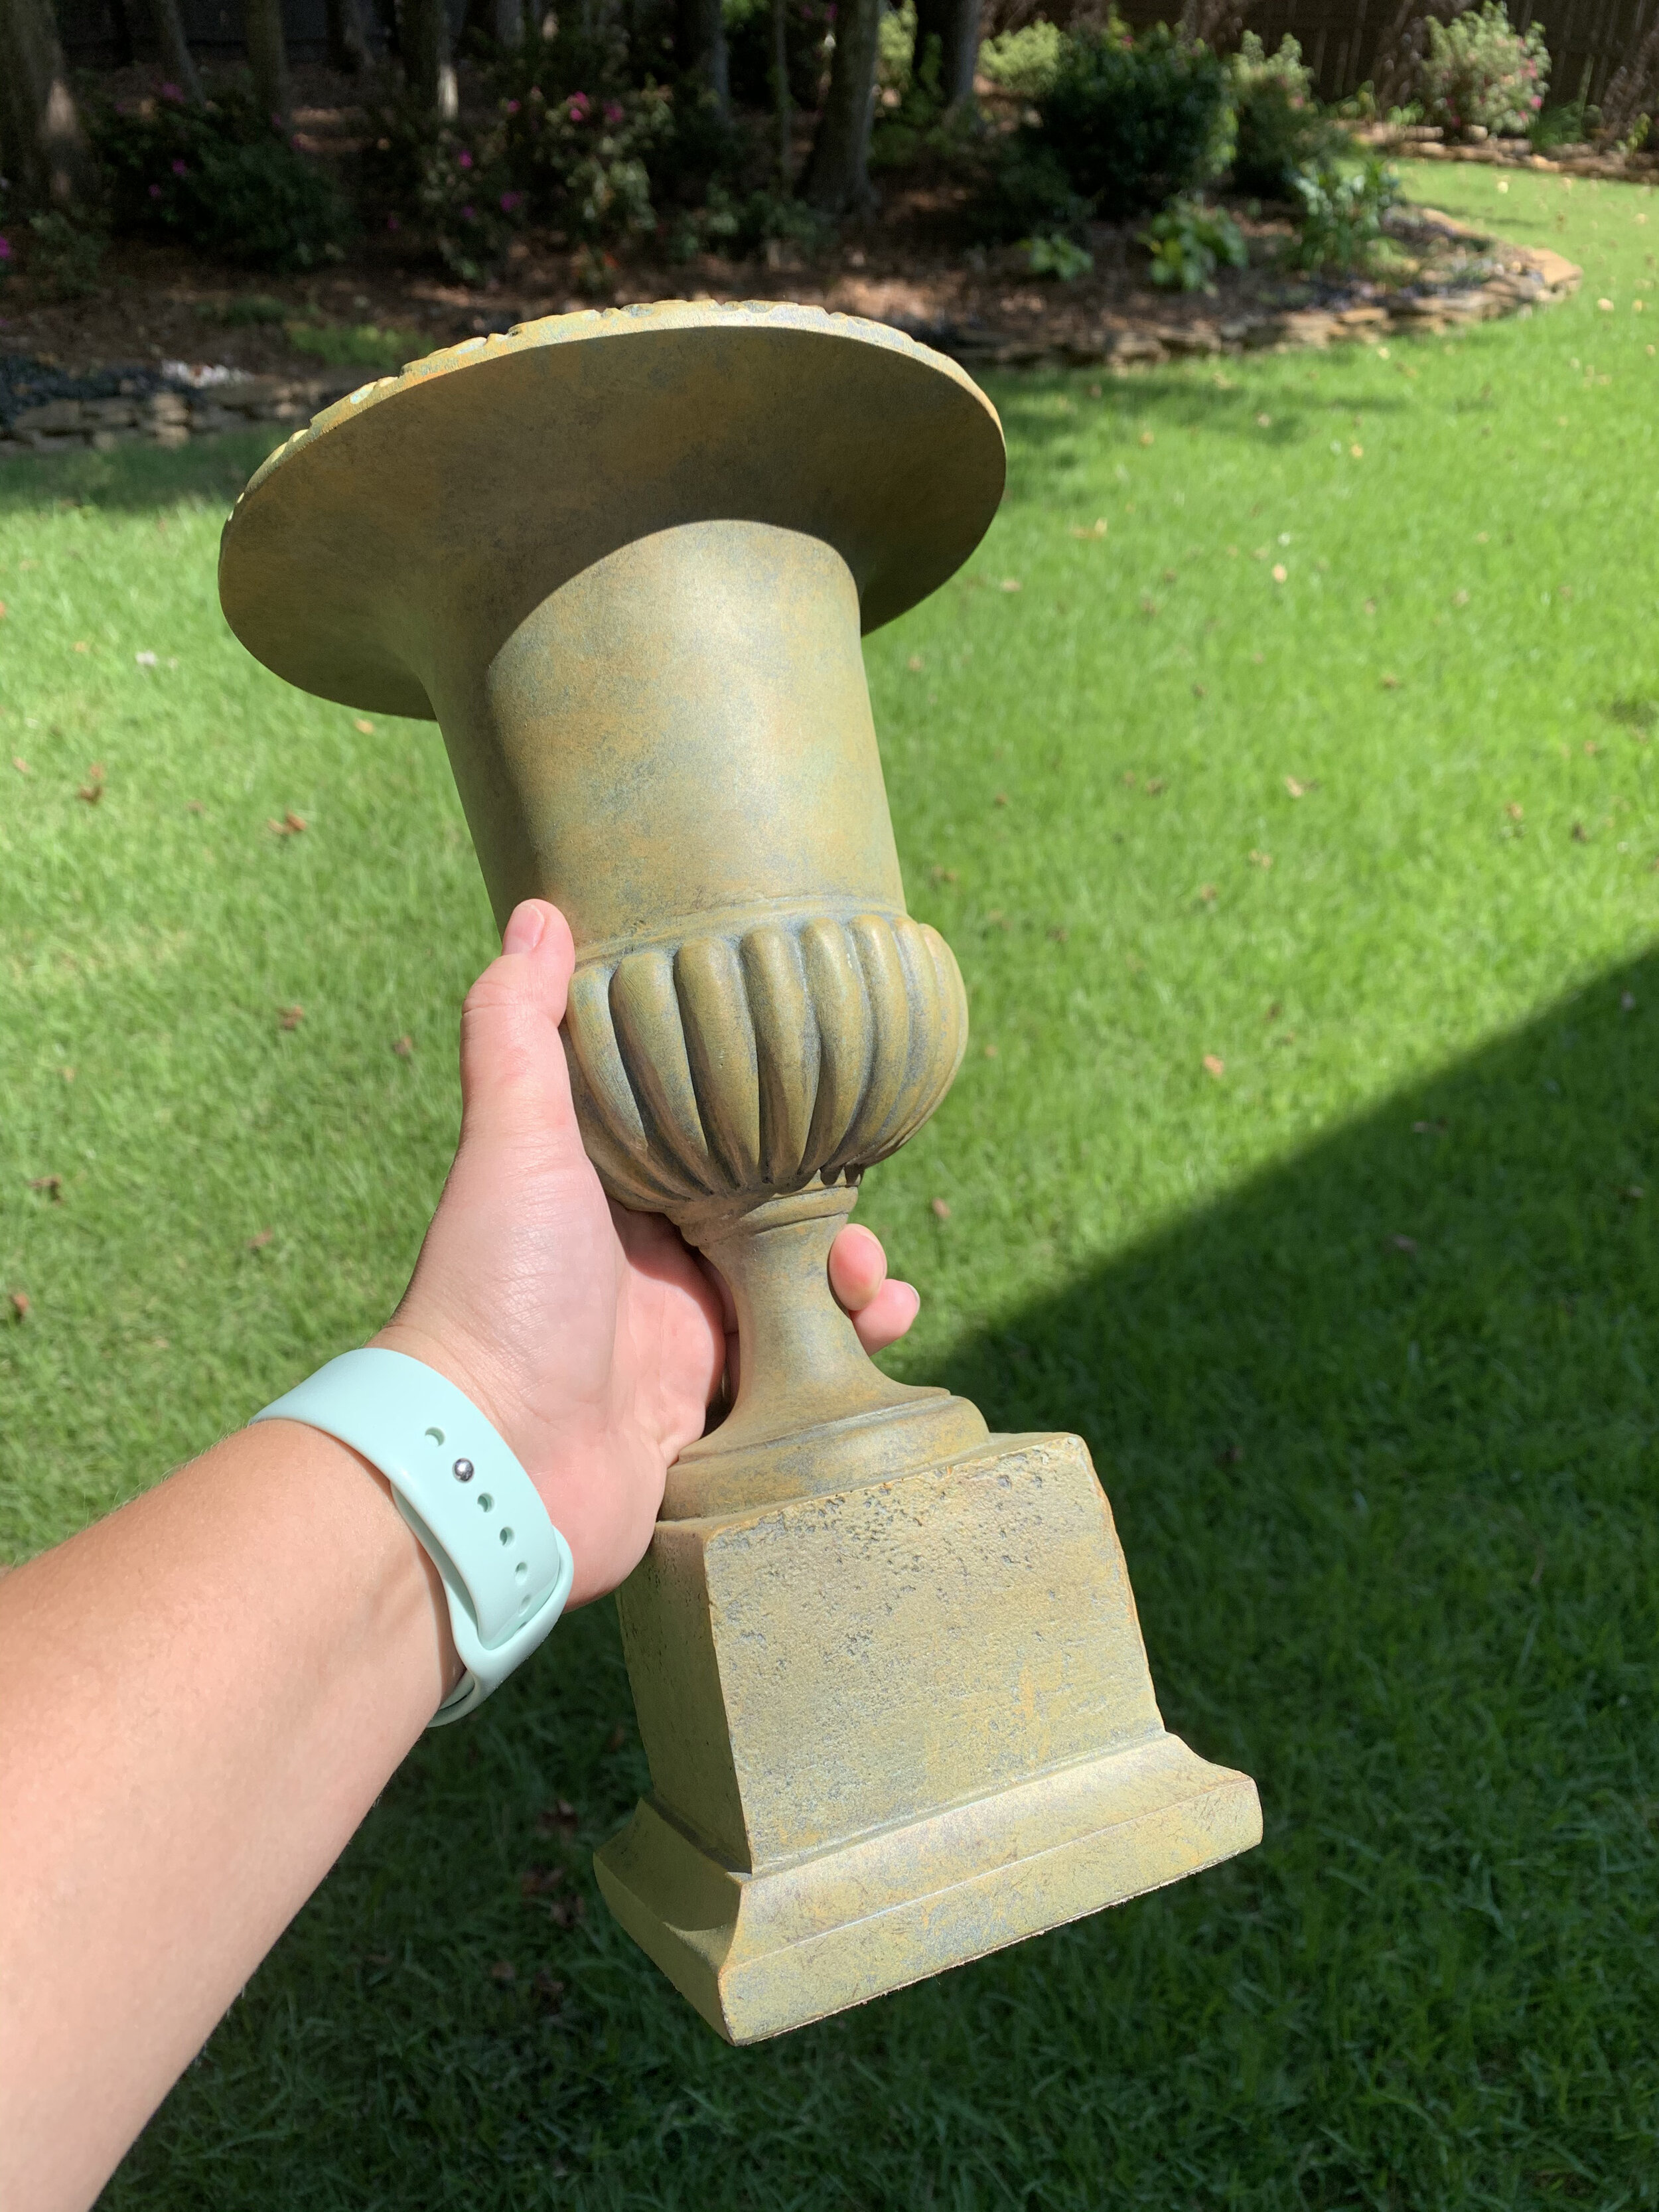
I spotted these little urns on a random Goodwill trip a few months ago for $6! Goodwill or other thrift stores are a GREAT place to find stuff you can transform with spray paint. I got lucky when I found two of these, which still had the $60 price stickers on the bottom of them. So always keep your eyes on thrift stores, because you never know what you will find!

I went ahead and spray painted them black with some spray paint I had on hand. I used Rustoleum Paint & Primer in One in Black Gloss. I always spray paint on top of old shipping boxes because it elevates the bottom and I don’t care if they get messy!
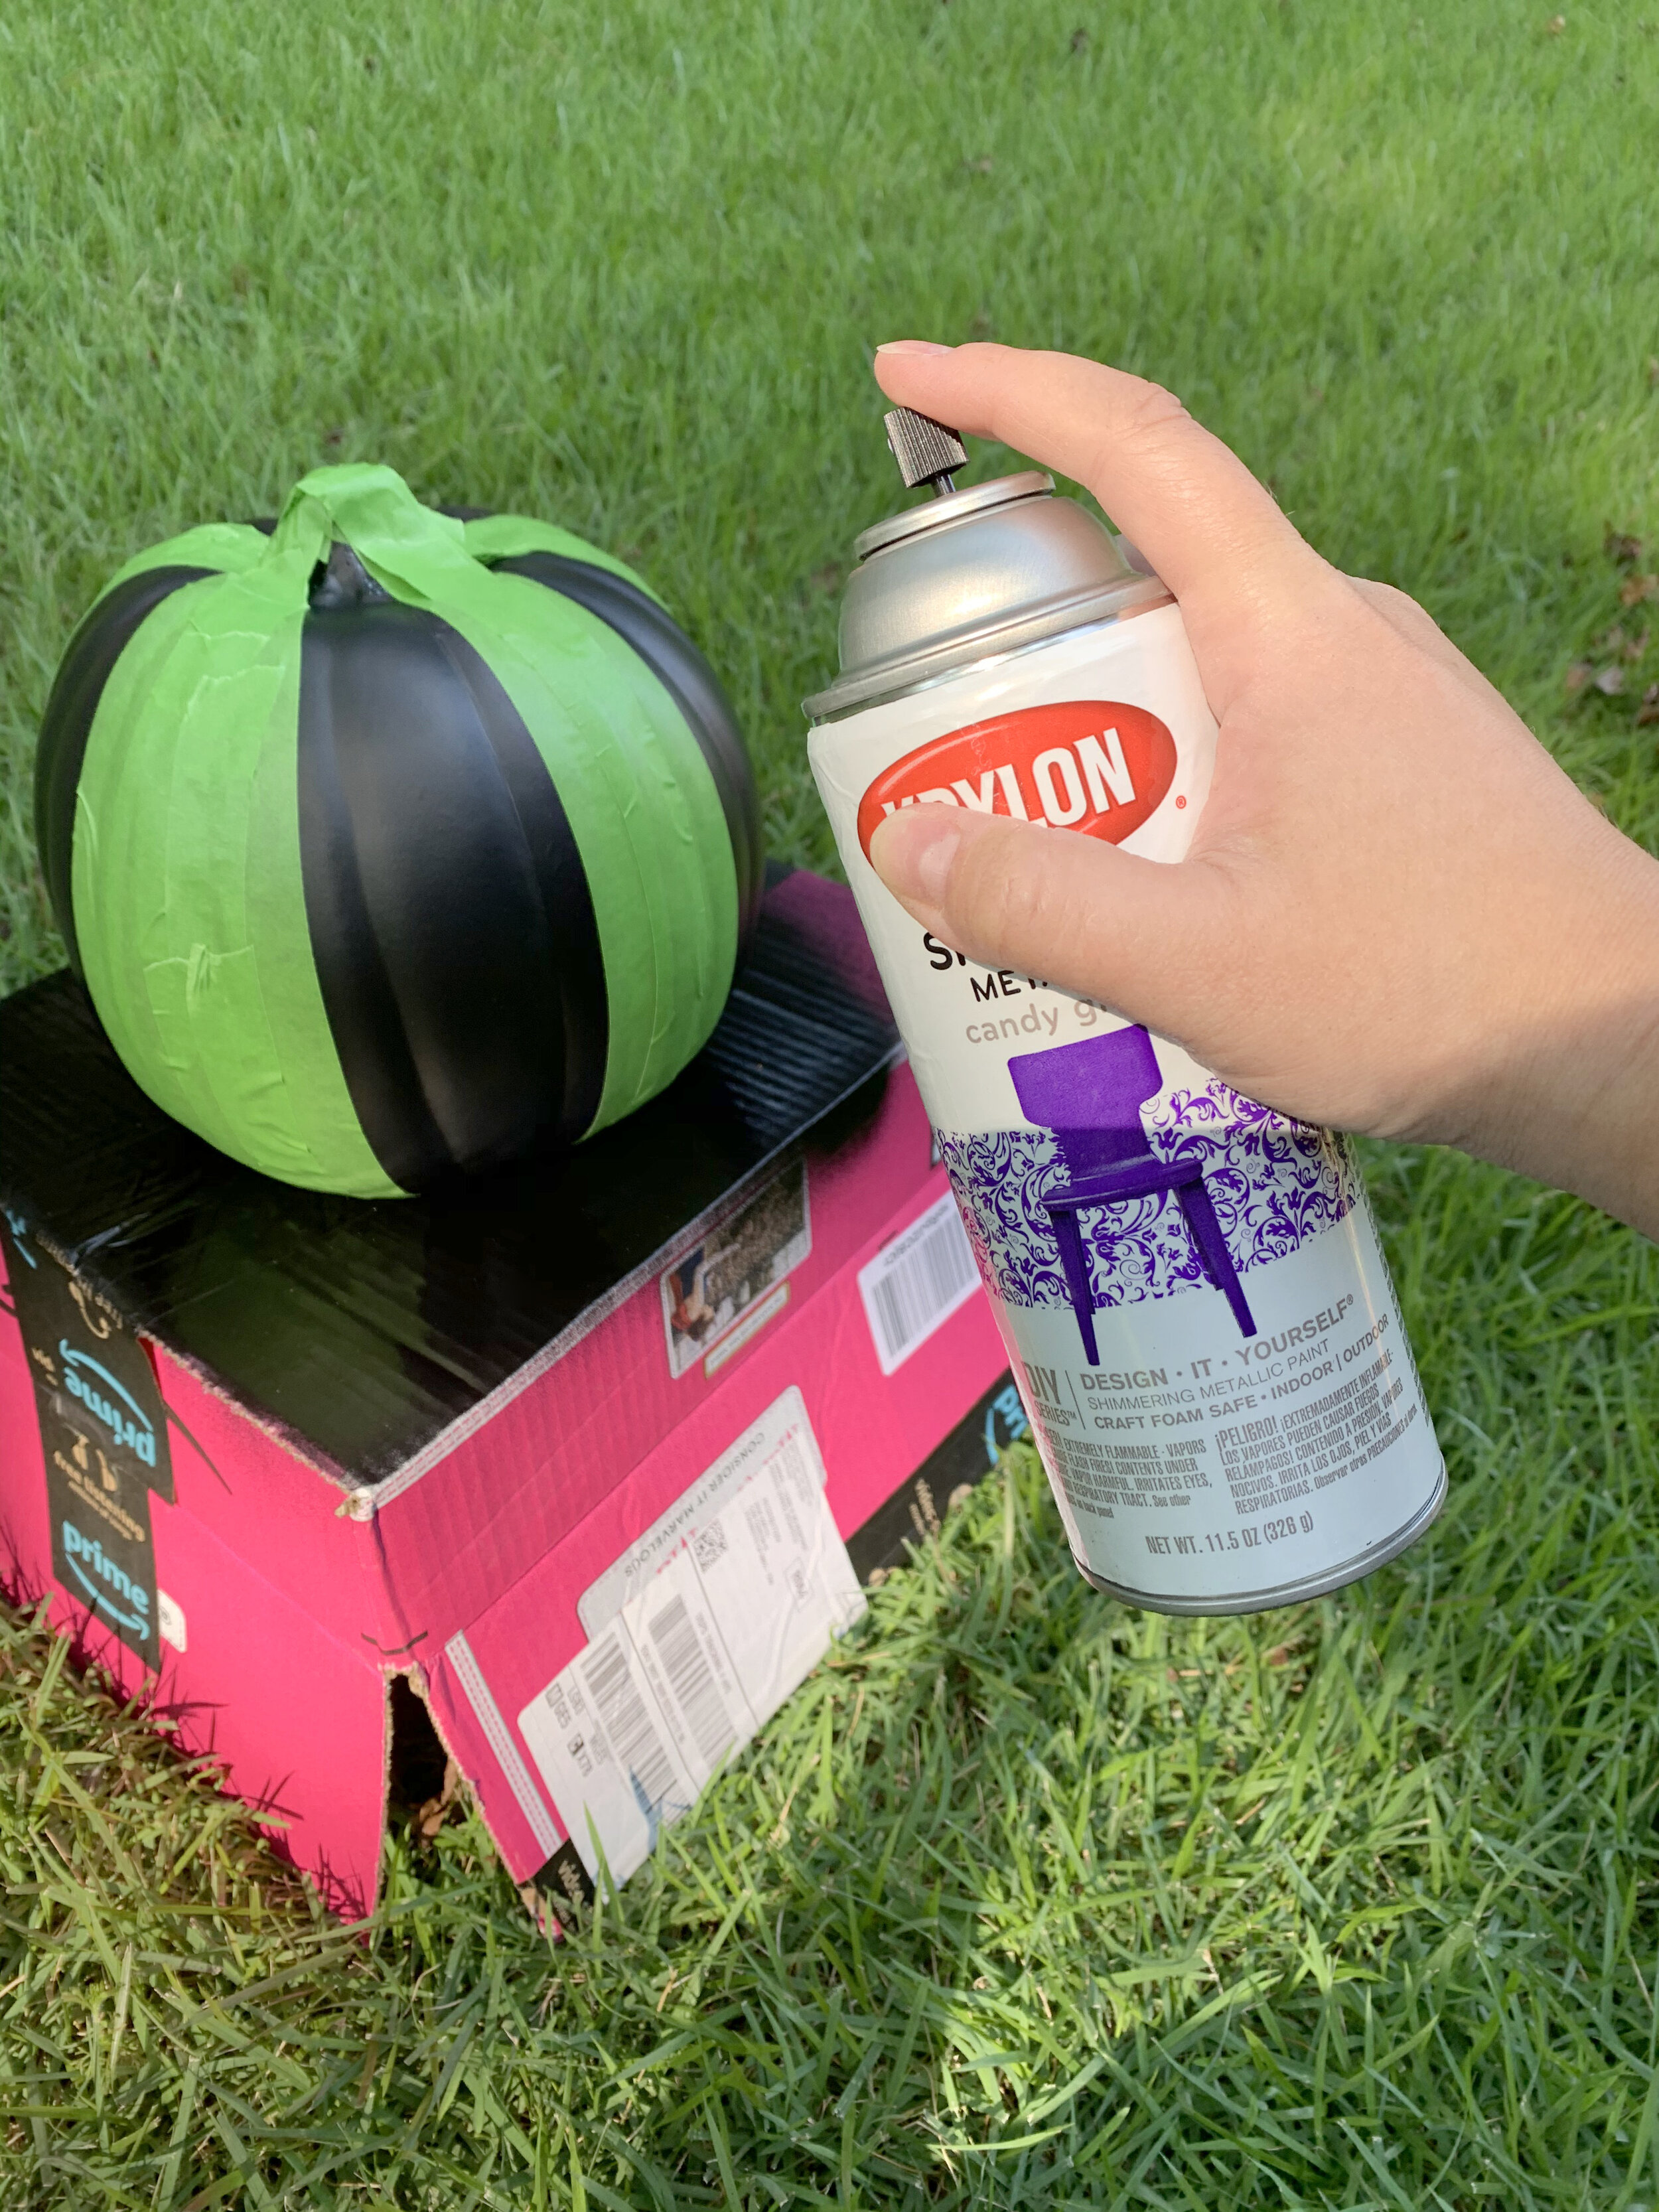
Next, I Frog Taped stripes onto the black 9” craft pumpkin I bought. I like Frog Tape because it always gives me the cleanest paint edge. I then painted a few coats of a glittery purple spray paint on the pumpkin and let it dry. Then I peeled off the frog tape.

After the purple paint cured for about a day, I taped over the purple stripes and a bit more of the black pumpkin with more Frog Tape. I basically covered the purple and about an inch or two on either side of each purple stripe, to leave one thin stripe exposed. Then, I spray painted the pumpkin again with some bright lime green spray paint and let that dry. After that, my daughter and I peeled the tape off, and the black pumpkin was finished!
I decided to leave the orange pumpkin as is, because I liked the contrast against the black, purple, and lime green.

Next, I cut holes out of the bottom of the orange pumpkins so they would stack evenly over the stems of the black ones. I used a bread knife from my kitchen, which worked surprisingly well on the foam of the pumpkin. I am nothing if not resourceful! Ha! Looking back, I probably should have used an actual mini saw knife or something but oh well!

Then I did the same thing to the bottom of the green pumpkin so that it would stack evenly over the stem of the orange pumpkin.
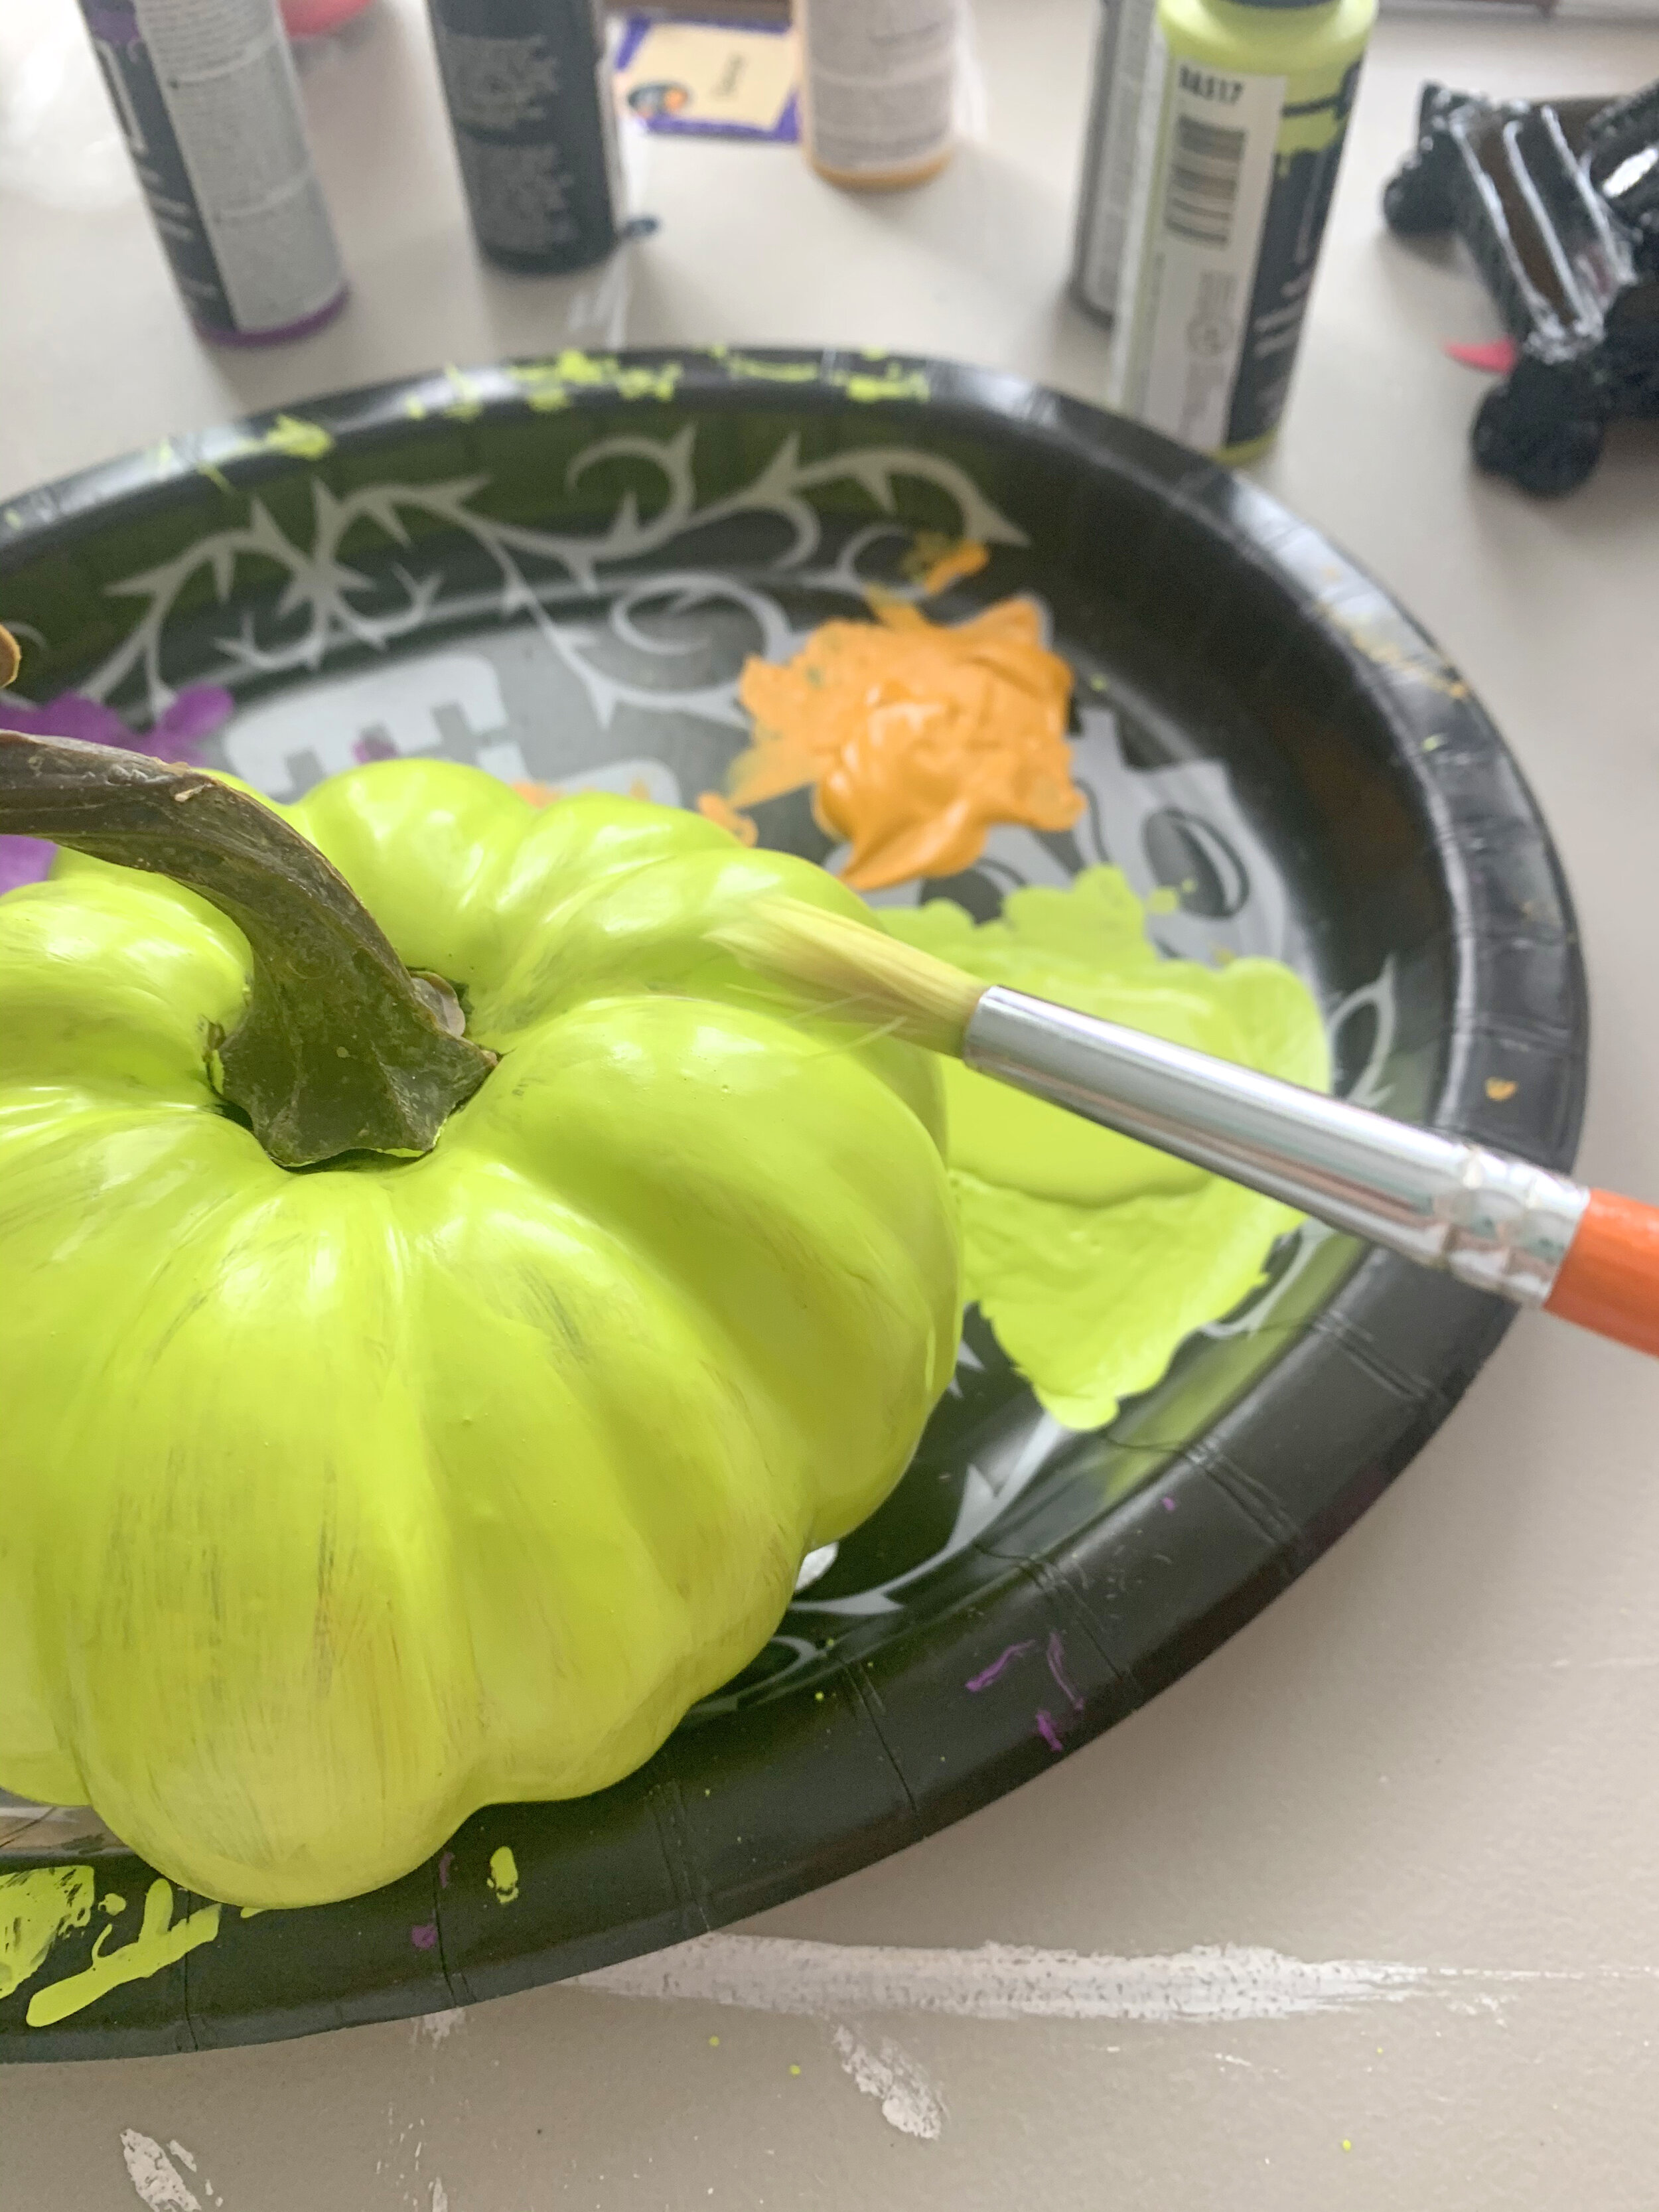
I wanted to bring the lime color from the bottom pumpkin up to the top, so I painted the small green pumpkins I bought with 4 coats of lime green craft paint. Then I painted the stems with black craft paint to mimic the black of the bottom urn.
Then I went ahead and stacked up the pumpkins, putting a thin bead of hot glue around the stem of all of the bottom ones to help the pumpkins stick together and stay stacked!


Overall I’m really happy with how these turned out! I was able to customize the colors to go with my other Halloween Decor, and I had fun doing it! I get a lot of enjoyment from making my own decorations, and that is a bonus for me.
I spent about $70 on this project, but I also had $10 in Michaels rewards coupons that went towards that total. A lot of the spray paint was also used for other projects I will show you soon, so I didn’t mind buying a few colors. I think $60 total for two pumpkin topiaries sure beats $700+ for a similar look! I hope this inspires you to make some of your own!