
DIY Halloween Pumpkin Wreath Using Dollar Store Supplies

I’m always trying to challenge myself to do crafts on a budget, so I thought I would come up with a special project to test my skills!
We have a Dollar Tree right next to our grocery store, and I had to run in to grab some school and craft supplies for my daughter. I was super excited to see that they had a lot of Halloween decor already out, and I was inspire to make a fun pumpkin wreath for my pantry door!
I gathered a round wreath form, a bunch of foam pumpkins in varying sizes and colors, some glittery spiders, and two spools of ribbon. I spent about $30 on all of the supplies, which is a lot cheaper than the wreaths I’ve seen at stores in years past. Here are examples of the supplies you can find!


I started making the wreath by using the largest pumpkins first to form a base. I had some floral wire on hand I used to attach the foam pumpkins to the wreath form. I bent the wire in half, pushed it into the pumpkin, and then essentially twist-tied it to the wreath form.


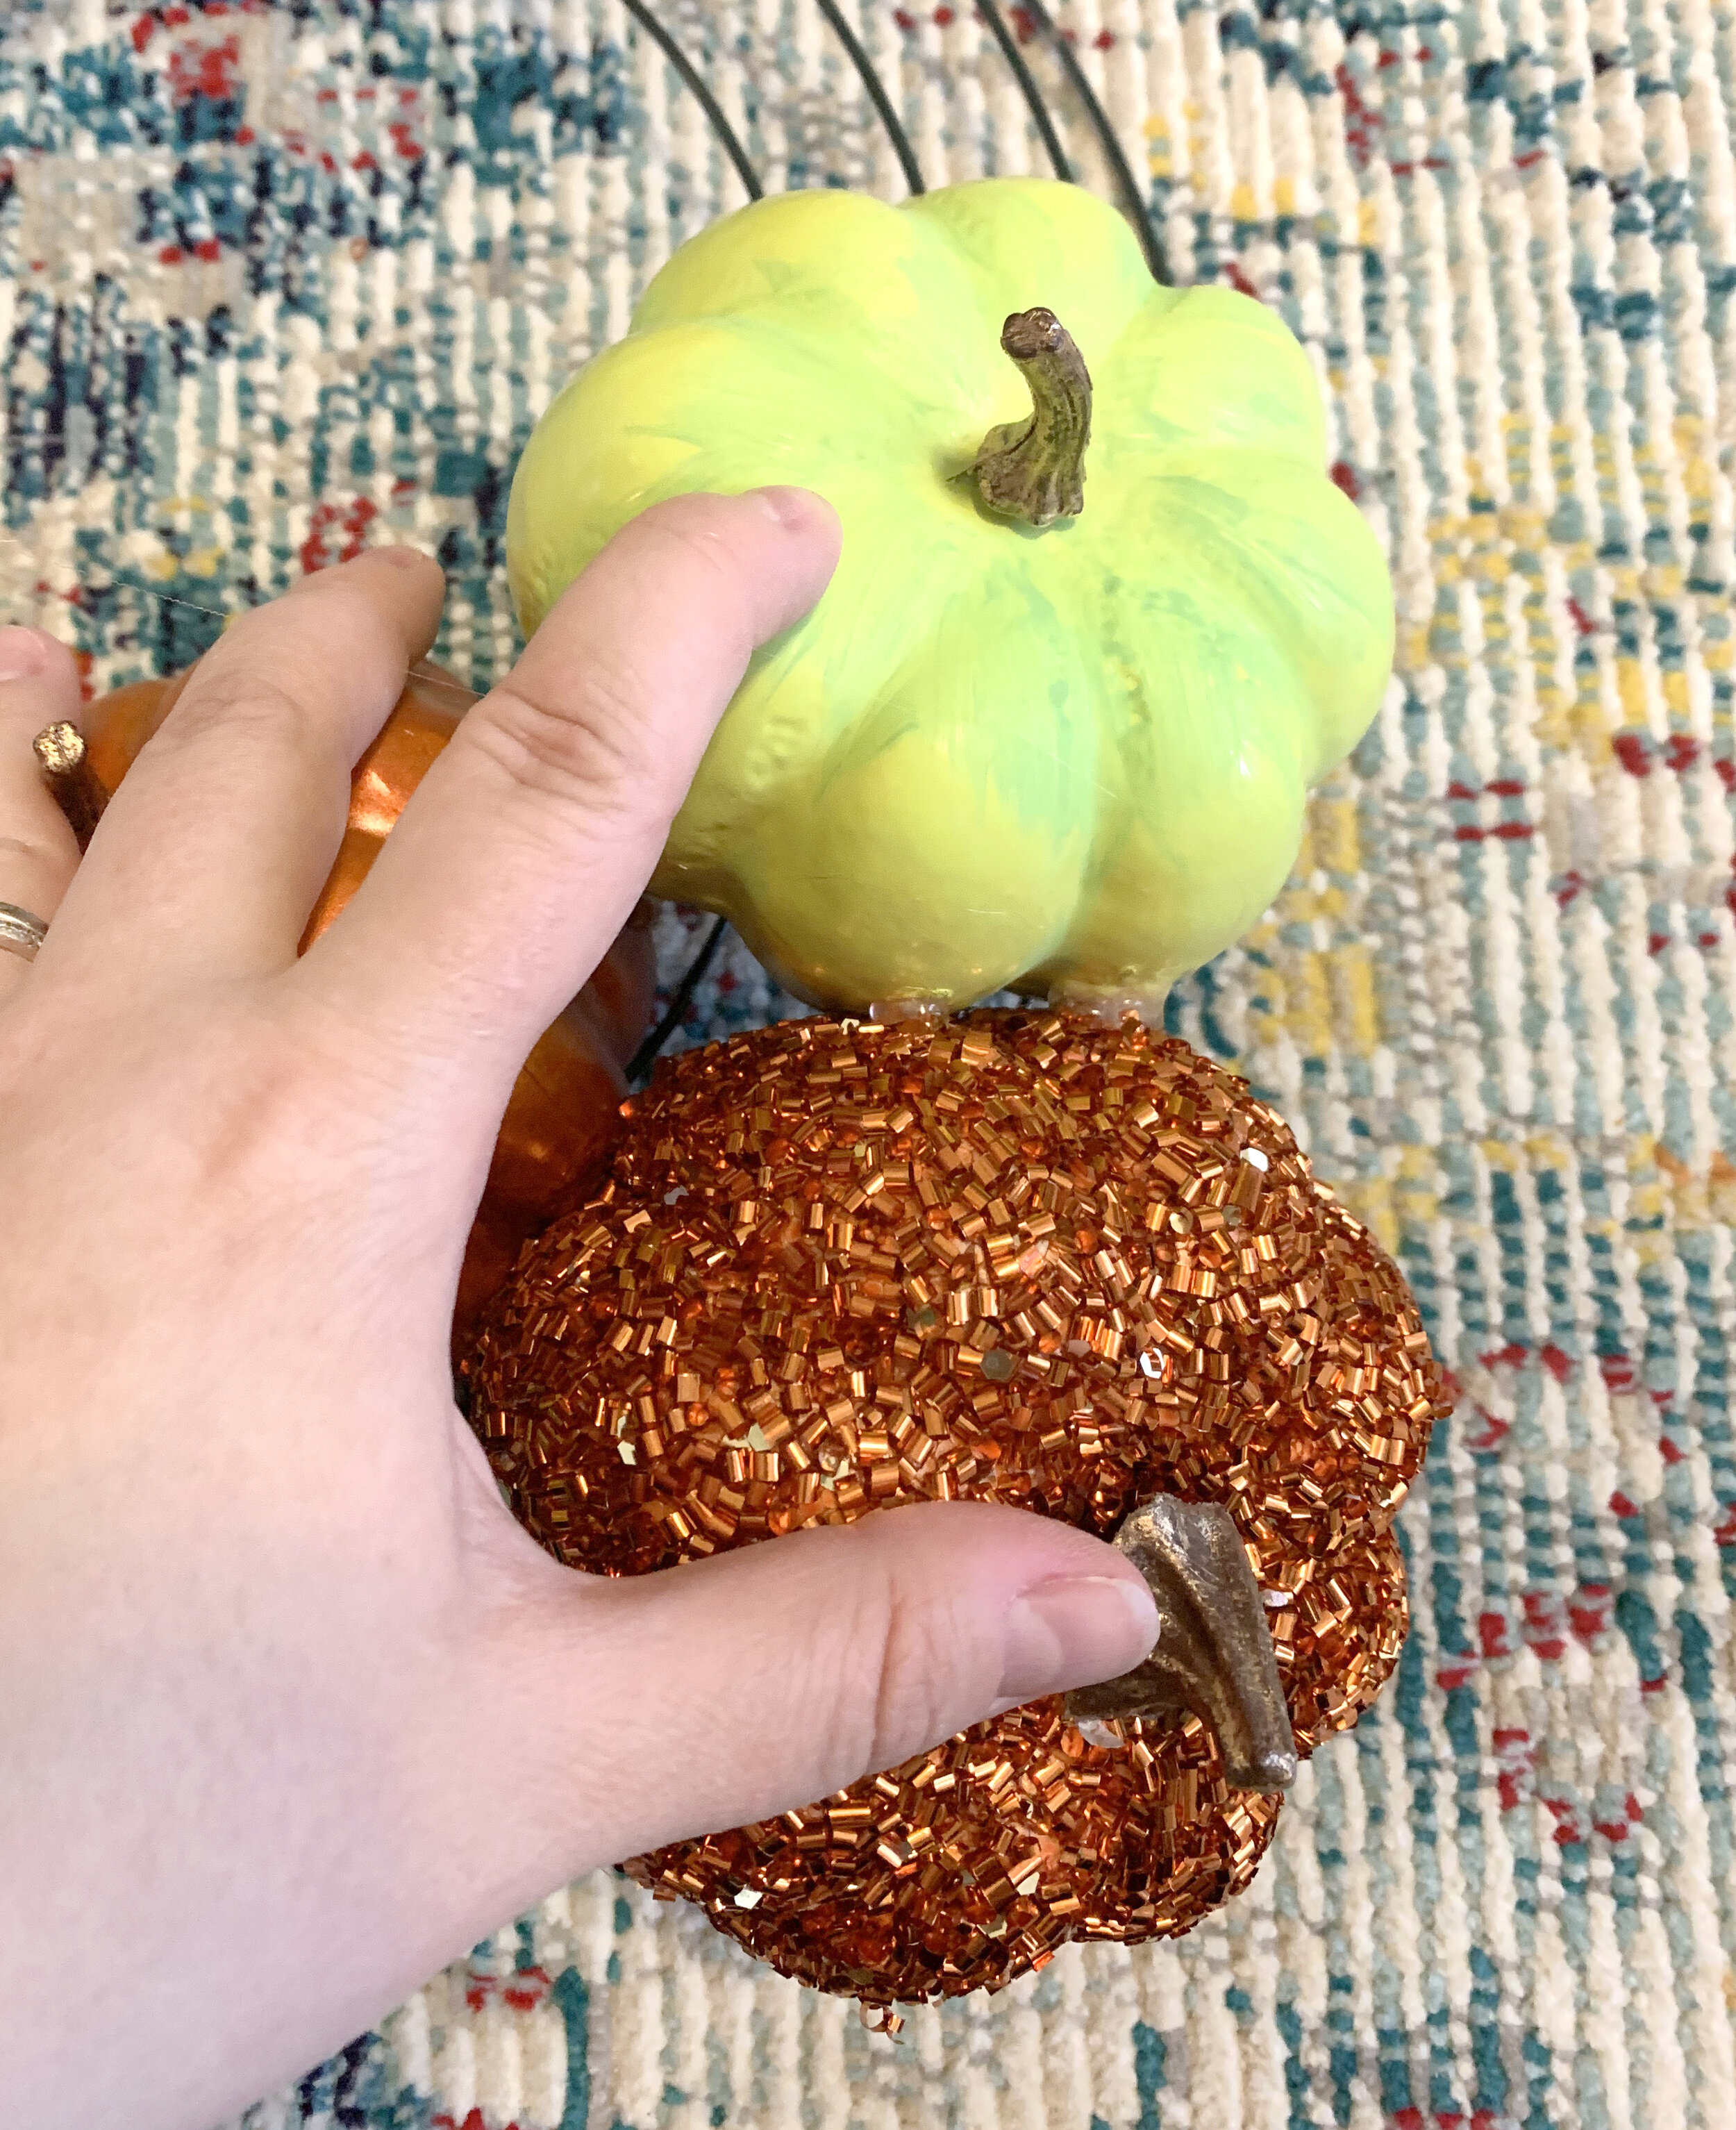
For some of the plainer pumpkins, I used lime green craft paint to make them a different color and add variety. They took a few coats, and I added some darker green shading as I went. I circled around the wreath with the bigger of the pumpkins I purchased, making sure to disperse the different colors evenly.


As I went, I started reinforcing the wire ties with hot glue. I glued pumpkins to each other, and then turned the wreath form over and put some glue on top of the wiring to keep it in place. Be prepared to maybe burn your hands a lot. Oops.


After I got the base of large pumpkins down, I added some funky ribbon I bought by tying it around the wiring. Then, I started gluing in all the smaller pumpkins, going from largest to smallest, filling in the gaps. I used a LOT of hot glue, but overall it was pretty easy to do!

Then I added a few of the little spiders on top of the pumpkins until I felt it looked balanced.
I left space at the top for a bow, and for this I recommend a fantastical contraption called a Bowdabra. You can buy them at any craft store, and they make making bows SO easy. I used two different kinds of ribbon to make a two bows, a larger purple one and a smaller orange one.


After that, I fluffed them, and then stacked them together and twisted them on the top to the open part of the wire frame. Then I added a few final small pumpkins and spiders!

I used a command hook to hang it on my pantry door and ta-dah!

I think it adds the perfect spooky, fun touch to our kitchen dining area!